
Controlling Your Vision Part I
Basic Cinematic Shots & Lenses That Every Writer/Director Should Know to Bring Meaning Out of Their Stories

For a first-time filmmaker, it might seem like cinematography is something that only a director of photography should know. And for a writer, it might seem like something completely irrelevant to their craft. But that couldn’t be further from the truth. Sure, most film sets have an expert that a director can lean on, so you don’t HAVE to know cinematography to make a great film. And if you’re a writer, you can obviously create a fantastic story without having any knowledge of cameras.
But shying away from, at least, a basic understanding of the “hows” and “whys” behind your shots can severely limit your ability to translate a vision from page to screen. This is because the shots, themselves, are designed to augment the meaning of a script. In other words, the meaning within stories is interlinked with the shots, which is why there’s a difference between a Hallmark Film and a Nolan Film.
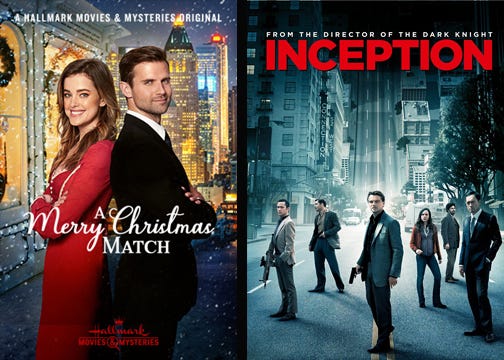
A Hallmark Film uses basic shots, which flattens the story, but a Nolan Film? Well, let’s just say most people walk away from his movies in awe…Maybe not his latest piece, but certainly Inception, Dark Knight, and the classic, Memento.
As you’ve probably guessed, we’re gonna cover cinematography in this two-part blog. But wait! Don’t click away, just yet!
Before you freak out and assume that this is some complicated technical piece that has no relevance to your life, let me put you at ease. This is a basic breakdown of cinematography specifically for screenwriters and directors who have no idea what they’re doing but who want to make their films stronger. Like you, I’m not a cinematographer. I couldn’t get complicated with this subject, even if I tried.
I come from a writing background, and if there’s one thing I hate, it’s technical stuff. But my friends are really good at making films, and over the years they’ve managed to teach me a lot, which has fundamentally helped me with screenwriting and directing. So I want to dedicate this piece to sharing everything that’s been taught to me about cinematography. With this information, translating your ideas into great stories will still be challenging, but at least you’ll be in the right ballpark, which is better than playing in the forest.
This first part will cover different shots you can incorporate into your story to enhance its meaning as well as a breakdown of different lenses you can use to facilitate this process. But before getting into the nuts in bolts, I have to briefly touch on…
The Universal Rule of Cinematography
This point about cinematography needs to be addressed, and I want to do it by asking this simple question. Which of the following movies was shot better? The Blair Witch Project or Blade Runner 2049?
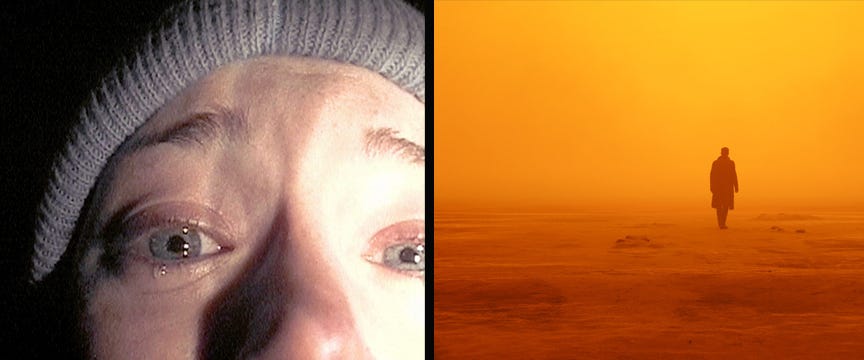
A lot of people would claim Blade Runner because it was drop-dead gorgeous. But the truth is that both of them were shot well because both directors utilized the best shots for the story they were trying to tell.
The Blair Witch is an intimate found footage horror story, which is why it was shot in first person using cheap cameras because the director wanted the audience to feel as if they were witnessing a home video they found. And Blade Runner is a grand futuristic movie, which is why the director captured it in 3rd person using huge immersive shots because they wanted you to feel as if you were actually in this future World. You see, it’s the stories, themselves, that drove the cinematography, not the other way around.
So when deciding on how to shoot your film, don’t just aim for the prettiest setups. Aim for the shots that best match the story you’re trying to tell. At the end of the day, you want your audience to feel something meaningful, not just marvel at a bunch of beautiful moving frames.
Now with that point out of the way, let’s get into the weeds…
Shots
A great partnership between a director and a cinematographer is one where the director has a clear vision for the story and the cinematographer has a good understanding of how to utilize the technical gear to come up with creatively meaningful compositions.
That means if you’re a director who doesn’t understand basic shot terminology and the reasons for using the shots that you want, you’re probably going to struggle to collaborate effectively with a cinematographer. This doesn’t mean it can’t work. It just means you may not be able to execute the vision you intended to because you deferred way too many decisions to your DP, and unfortunately most cinematographers, particularly on indie sets, prioritize beauty and coverage over shots that really mean something to the story.
So to avoid pretty shots that are meaningless, let’s dig into the basic shot terminologies and reasons for when and why we use them. Understanding these concepts will greatly improve your communication abilities and give you more control over the story you’re trying to tell, both on the page and on the screen.
Wide Shot (WS)
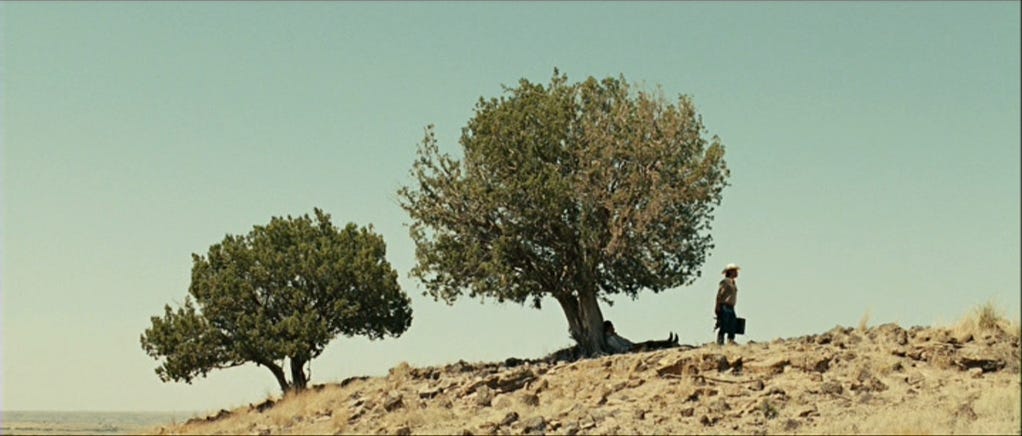
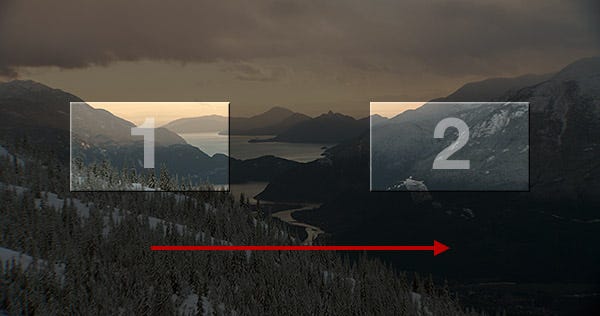
A wide shot is just that. It’s a shot that shows the full scope of the environment your characters are in. The purpose of using this kind of shot is to give the audience a sense of space in relation to where the action is taking place.
Many times, these are captured to introduce the scene, and this is because a wide shot conveys a ton of information all at once, which helps viewers quickly establish what is going on. It also helps orient the viewers so that when you move into your close-ups, people don’t get lost and can understand where stuff is taking place. Introducing your scenes this way by starting on a wide and punching into closer shots is known as deductive sequencing.
Medium Close-Up (MCU)
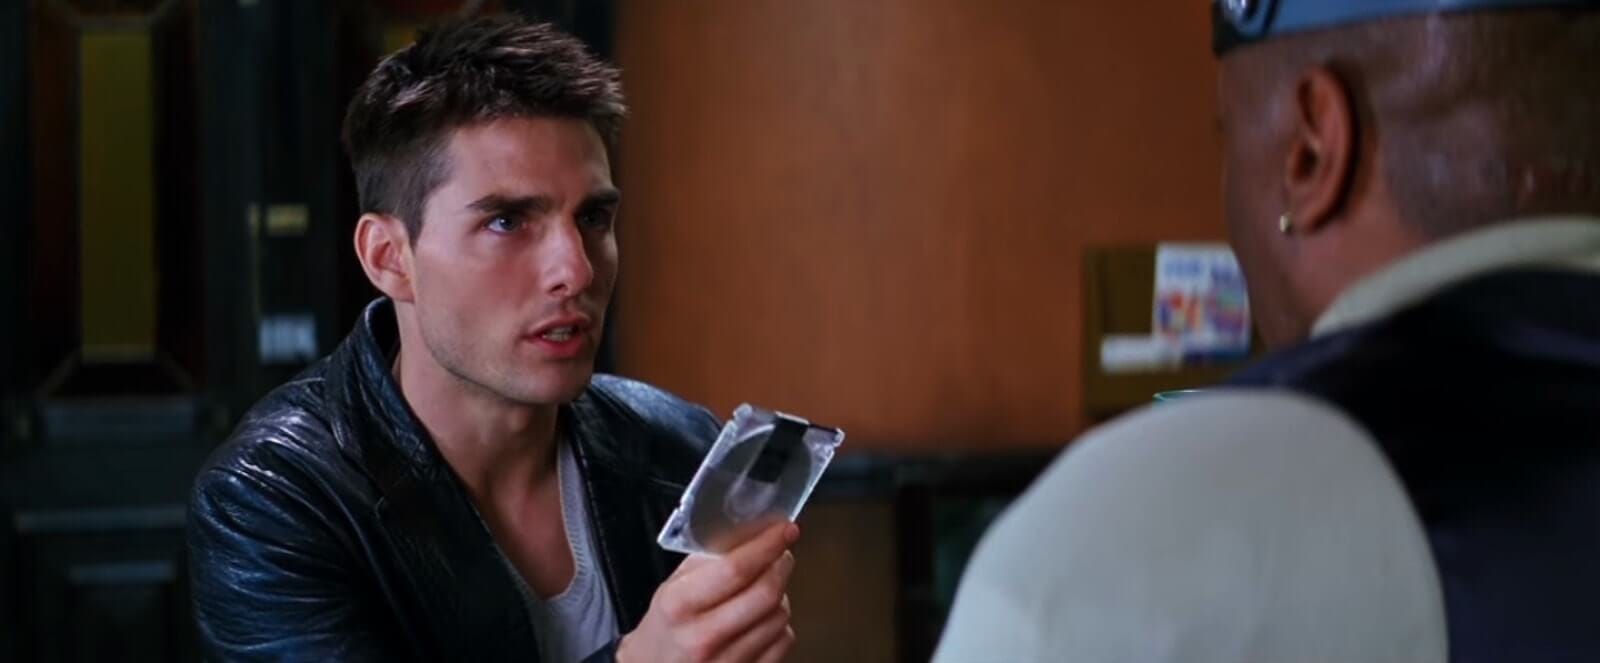
This is the most common shot seen in movies and is primarily used for dialogue sequences. Medium close-ups give the audience a little bit of the background while maintaining the subject in a tight frame. With this type of shot, audiences can gain a better sense of where the characters are within the space. But more so, it allows them to get a closer look at the characters so that they’re able to pick up on important movements or gestures. Body language is crucial for conveying emotion and subtext, so the medium shot remains close enough to capture all of that.
Close-Up (CU)
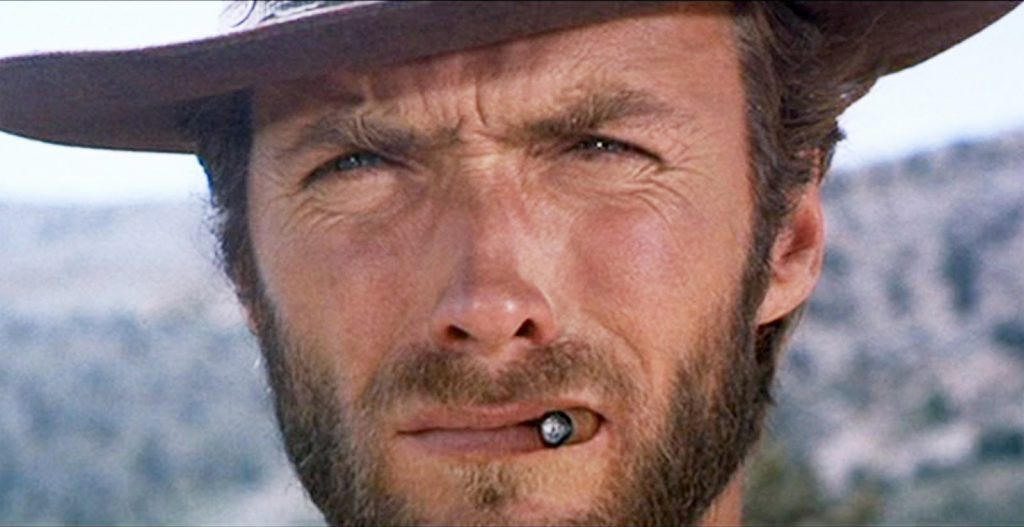
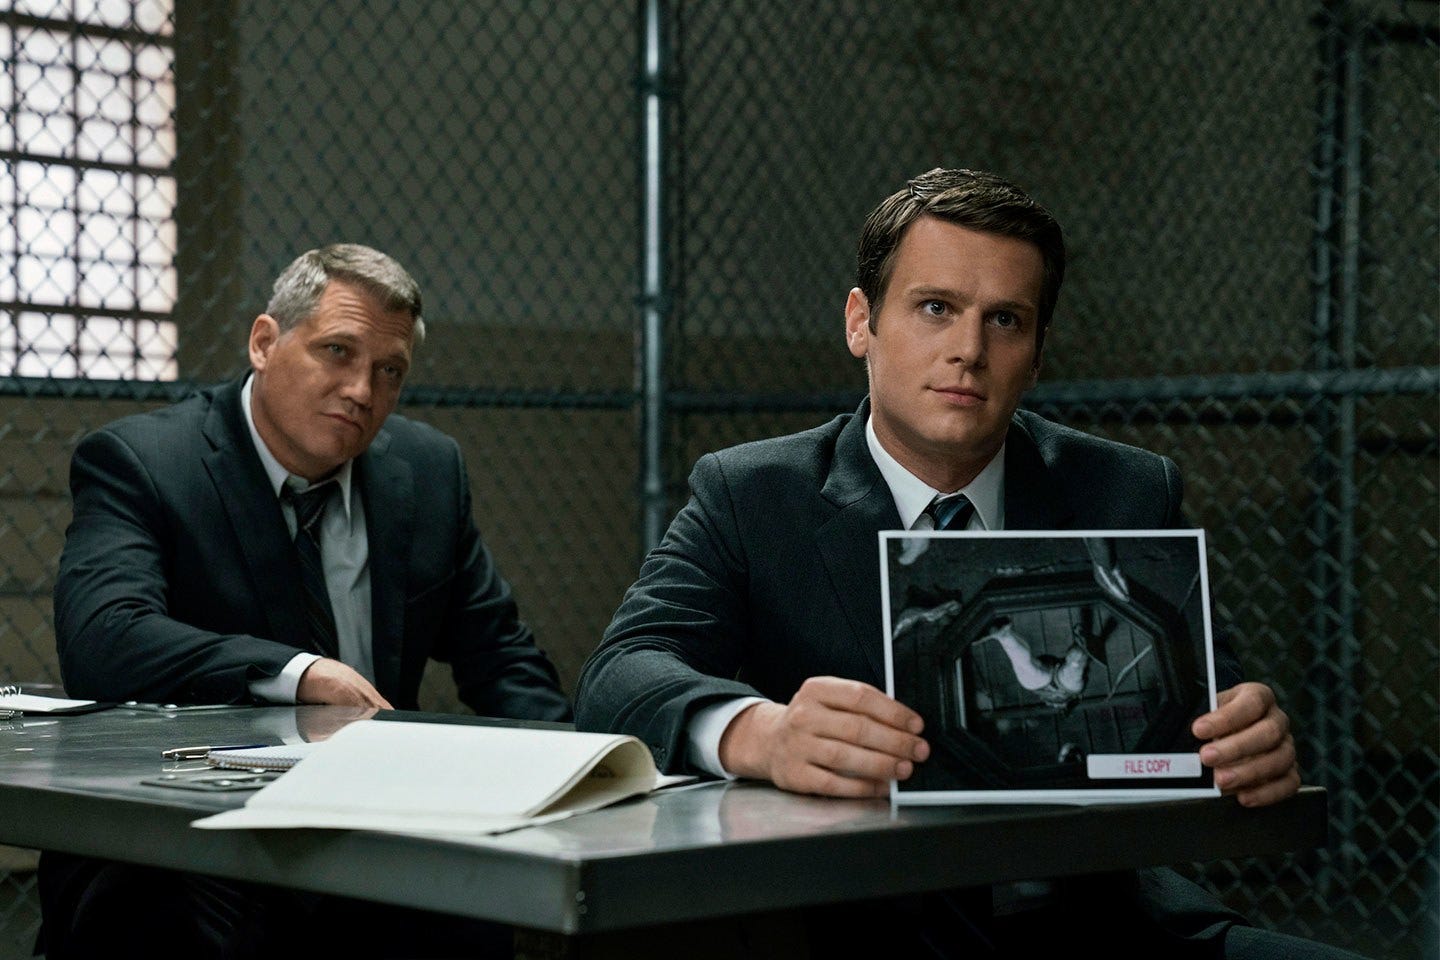
A close-up is similar to a medium, only the frame is punched in to differentiate that shot from the mediums or wides. And we choose to use this shot because we’re looking to highlight important details about something. When you cut to a close-up, like for instance, to a gun or a cracked door, you’re essentially telling the audience that this is important enough to pay attention to.
So say you want to plant a seemingly innocuous object or a circumstance of the environment that you later reintroduce as a major plot element with far-reaching implications. You might want to use a close-up to establish the importance of this object or circumstance. This way, later on when you circle back to it, the audience will remember it, which will induce an “ah-ha” moment as they see it unravel to become a major plot element.
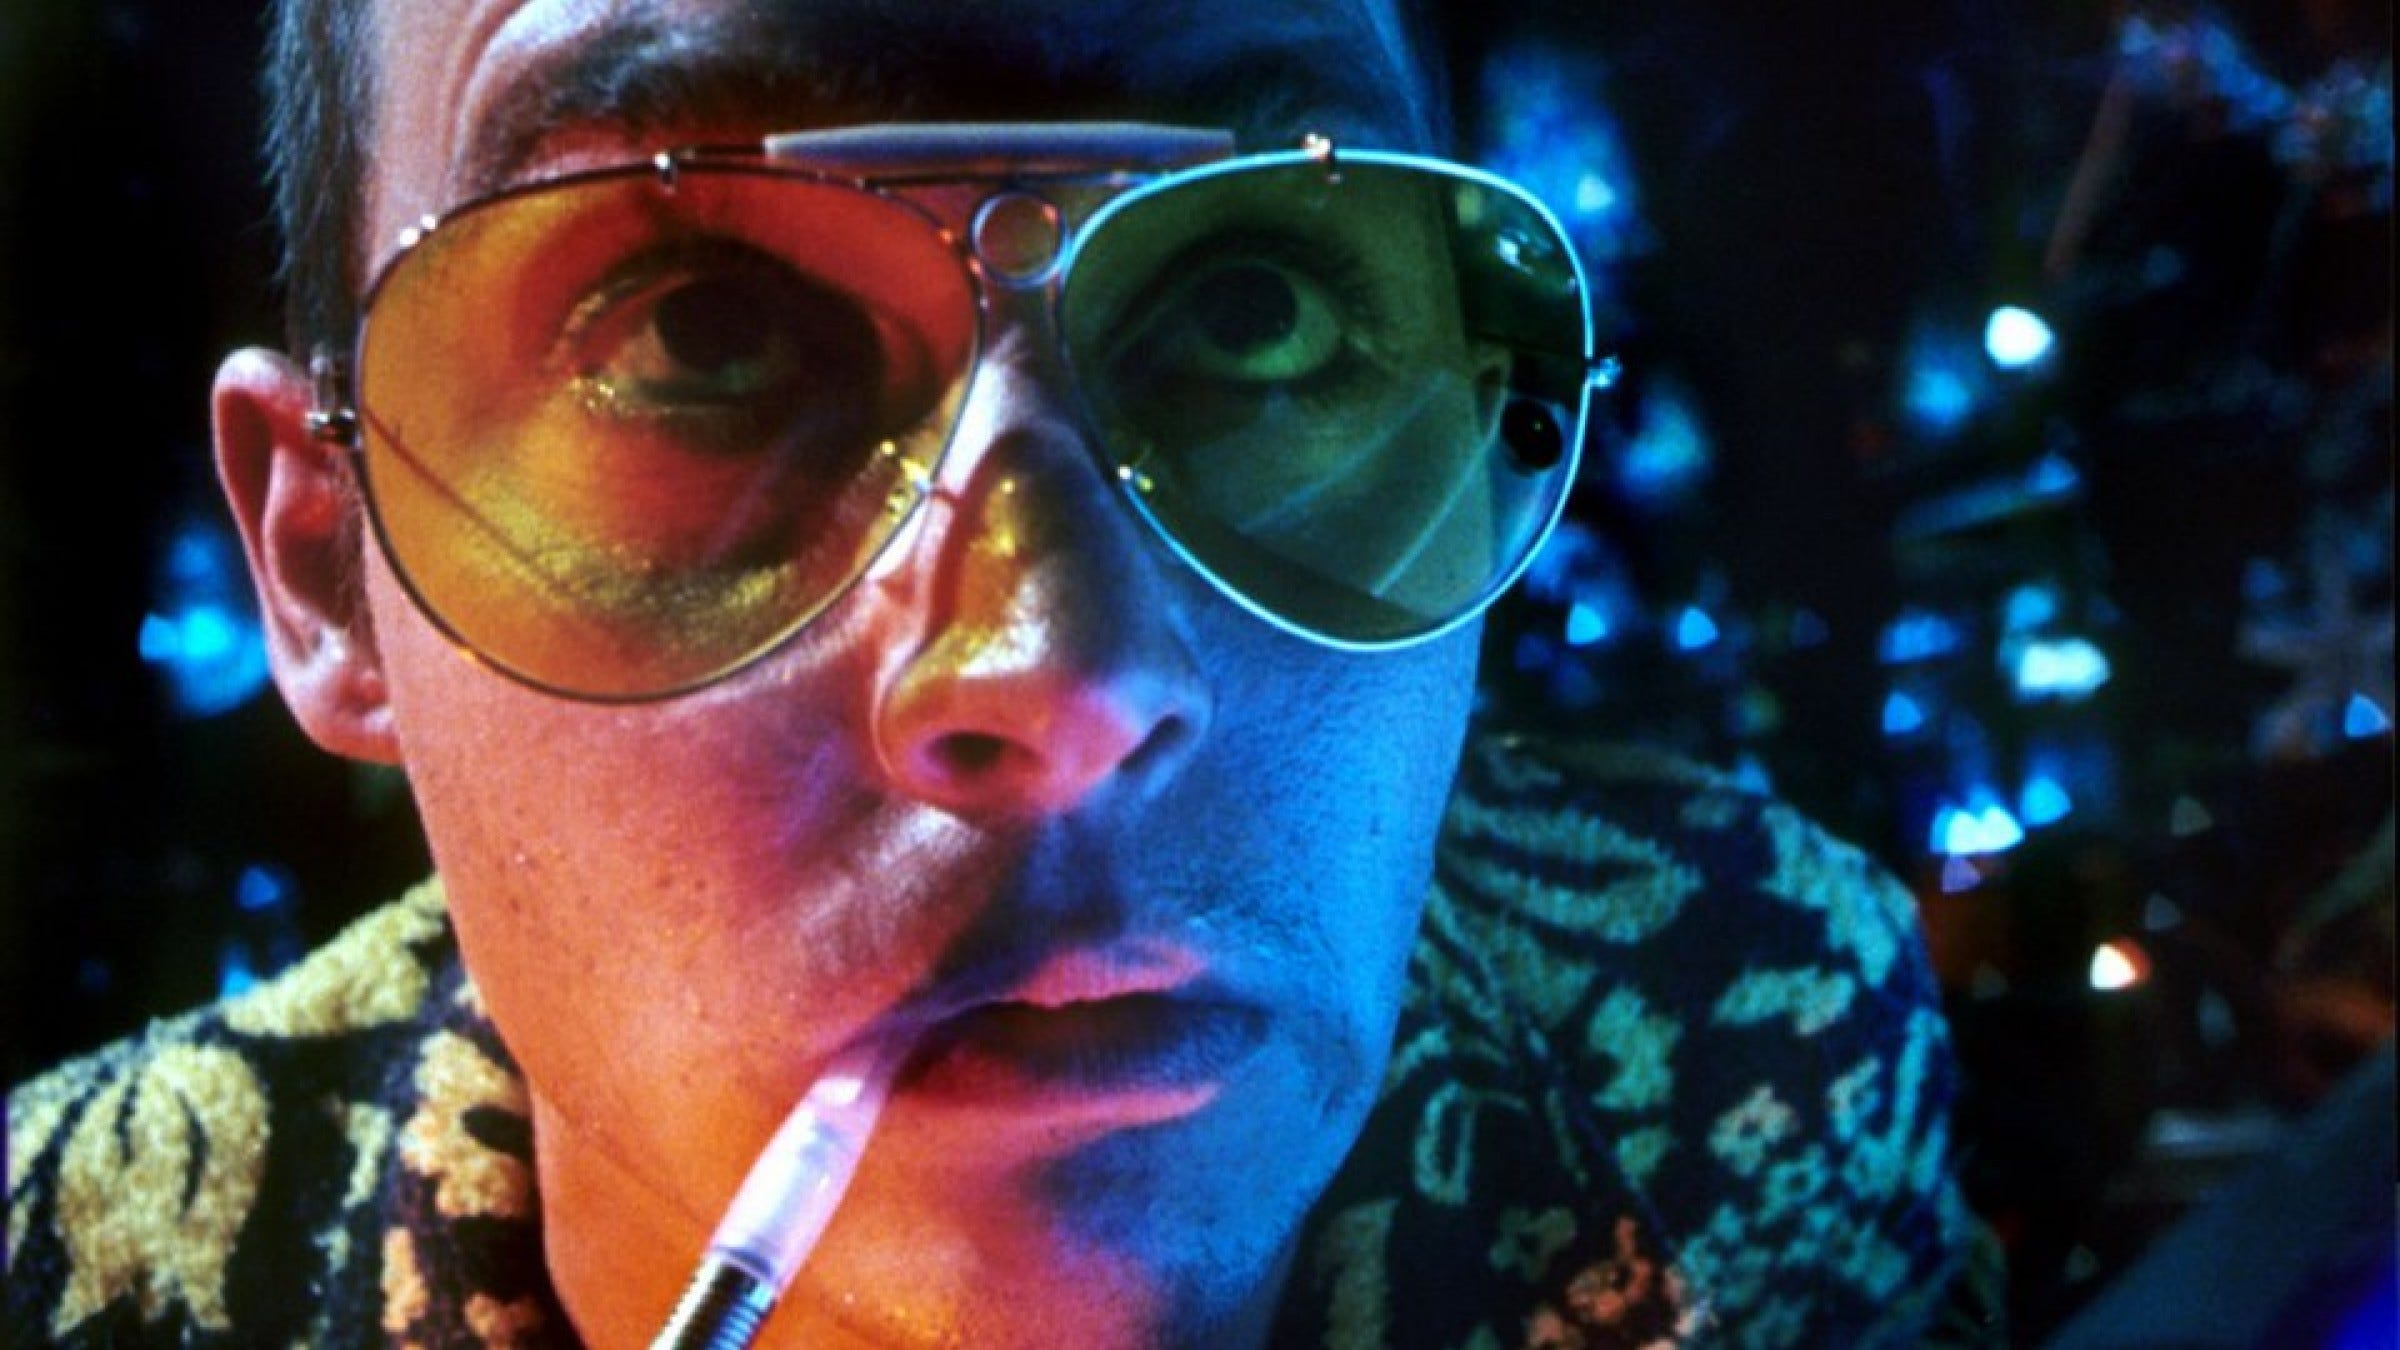
ECU (Extreme Close-up)
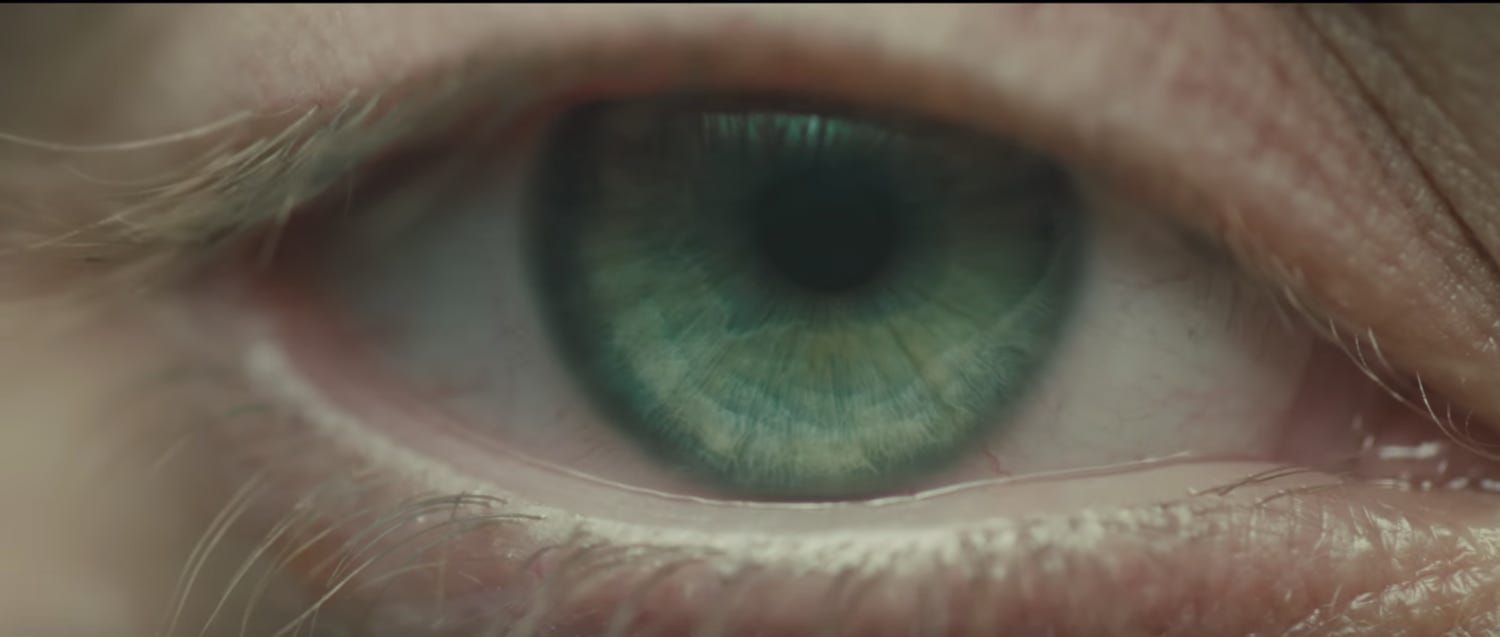
The extreme close-up shot is an unnaturally close view of something or a character, which helps the viewer enter their intimate space. This can reveal certain characteristics and emotions that would otherwise go unnoticed in wider shots. Generally, the main purpose of this type of shot is to intensify feelings that are being experienced in the movie so that the audience can feel more of the emotions you’re trying to convey.
ECUs can also be used in conjunction with close-up shots for capturing inserts. Inserts are just shots of objects you can capture in a space so that when you’re in the editing room, you can use them to break away from longer shots that can mess up your pacing.
These are also great for unpacking the nuances of an area at the beginning of a scene. This is known as inductive sequencing, where you’re establishing the space by moving from close-ups to wider shots instead of wider shots to close-ups (deductive sequencing).
With extreme close-ups, every subtle expression, muscle movement, facial characteristic, reflection, and detail becomes that much more apparent. In this way, it emphasizes the dramatic importance of the scene, making it stand out with respect to the movie as a whole.
Pan
A pan is when the camera turns from left to right or right to left. On-screen, this produces a scanning movement horizontally across the space, and it’s used to immediately connect two or more places, characters, or objects together so that the audience is aware of their proximity and relationship at that moment. The speed at which a pan occurs can be exploited for different dramatic purposes. For instance, with faster pans, you can heighten the sense of urgency that your characters are feeling. For super fast pans, known as whip pans, you can use them to produce jarring comedic effects. With slower pans, you can build up tension that might be felt in the moment.
Tracking Shot With Dolly and Steadicam
Tracking shots are when you physically move the camera around the space and follow the action. They’re fantastic for making the scene more immersive and dynamic for your audience. There are two primary types of tracking shots that most filmmakers use.
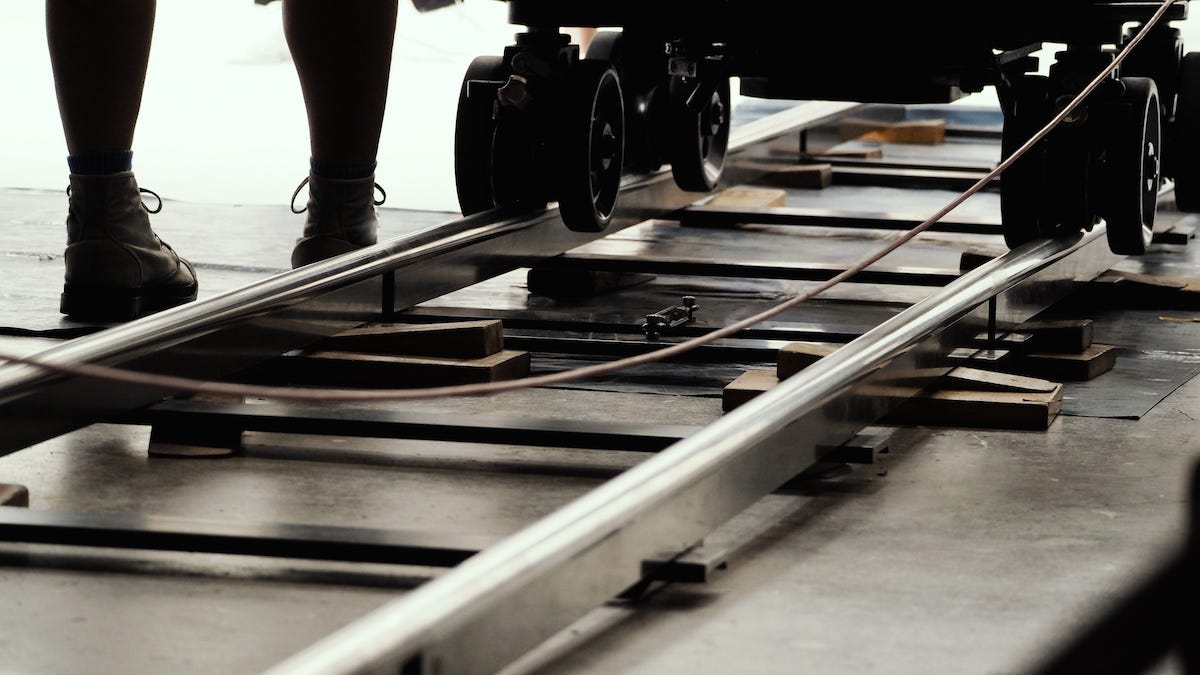
The first is tracking a shot using a dolly. There’s a whole spectrum of different dollys you can use, but more or less, it involves putting the camera on a set of wheels that move along metal tracks, kinda like a train.
With dollys, you can move forward, backward, or side-to-side, so it has its limits. Not to mention the fact that it can take time to set up. But these kinds of shots can be great for something like this if you want to convey change over time or for reverse tracking shots aka the “Hitchcock Shot”. This kind of tracking shot is commonly used to show an alarming moment that is beginning to sink into the head of the character you’re shooting, like in the famous scene from “Jaws”.
The second kind of tracking shot is one that’s done using a Steadicam. A Steadicam is just a suit that allows the camera operator to hold the camera steady as they walk around capturing the shots that are needed.
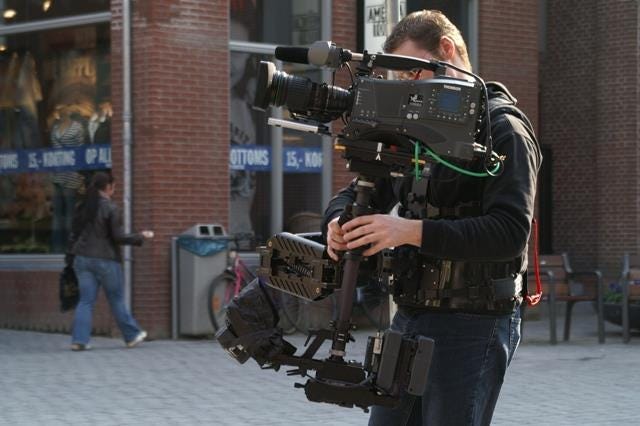
With this kind of gear, you can produce smooth, dynamic moments in your story, like this. It’s fantastic when you have a lot of action taking place and you want to fully immerse your audience in it. Personally, this is by far my favorite kind of shot because you can do so much and cover a hell of a lot in a short amount of time…If your action is light enough, that is. Either way, it’s an awesome method for making those intense scenes.
Tilt
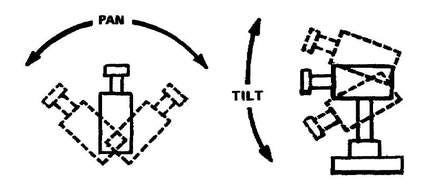
This is pretty basic. A tilt is just like a pan, only instead of panning left and right, you’re tilting the camera up and down. And just like a pan, it’s used to connect two or more objects or people within the space. Also, speeding or slowing this shot down can be used to elicit different feelings from the audience. That’s pretty much it.
Handheld

A hand-held shot is when you’re holding the camera and moving with the action. This produces a shaky frame, which is often used during tense or rough moments, like this one. An even better example is this scene from the movie, Seven. Notice every time the camera is pointed at Brad Pitt’s character, we see a shaky frame, which is a tell-tale sign that they’re using a handheld device. But whenever the camera is pointed at Kevin Spacey’s character, we see a smooth tracking shot.
This is because David Fincher wanted to connect the shots to the feelings of each character. Brad Pitt’s character is losing it, but Kevin Spacey’s character is cool as a cucumber. This link between how the story was written and the cinematic choices that were made is what helped make this a masterpiece.
And this is why having, at least, a basic understanding of shot design can be extremely helpful because that knowledge can give writers and directors the necessary language to enhance the emotional depth of their stories at just the right moments.
Now…Let’s take a brief stop over to the 180 rule before getting into lenses.
The 180 Rule
This is weird, but when shooting a film, you need to imagine this line of axis dividing the shooting space with the camera on one side of the axis. If that’s confusing, then just look at this image.
What you’re seeing is a basic guideline regarding the on-screen spatial relationship between a character and another character or object within a scene. Cinematographers use this invisible line when capturing things like dialogue exchanges so that viewers can best understand where everything is within the space. The basic idea is to shoot each character or object on one side of the line (your axis line). When the camera passes over this invisible axis, the shot becomes a reverse angle. This is known as, “Crossing the line” and is thought to be disorienting, which can distract the audience from the intent of the scene.
This “rule” only exists to prevent you from confusing the audience. But If you’ve established their blocking/spatial relationship to each other, you should feel free to do something like this as long as it’s motivated and intentional, such as this moment in “Ex Machina" when the fake opponent/real ally says something to the main character that’s shocking.
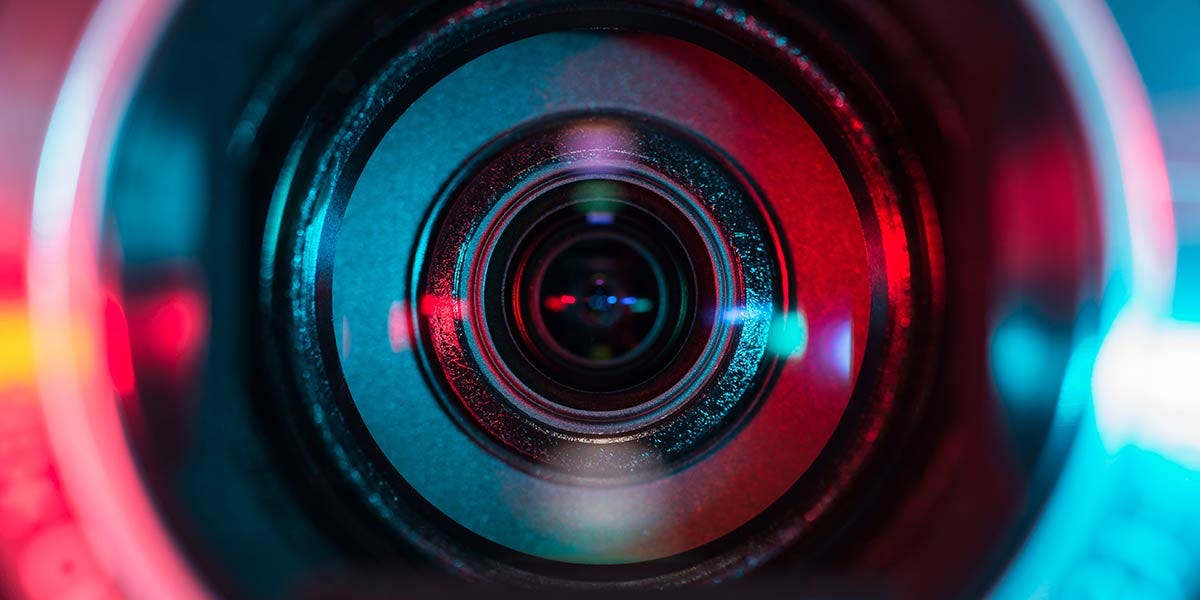
Lenses
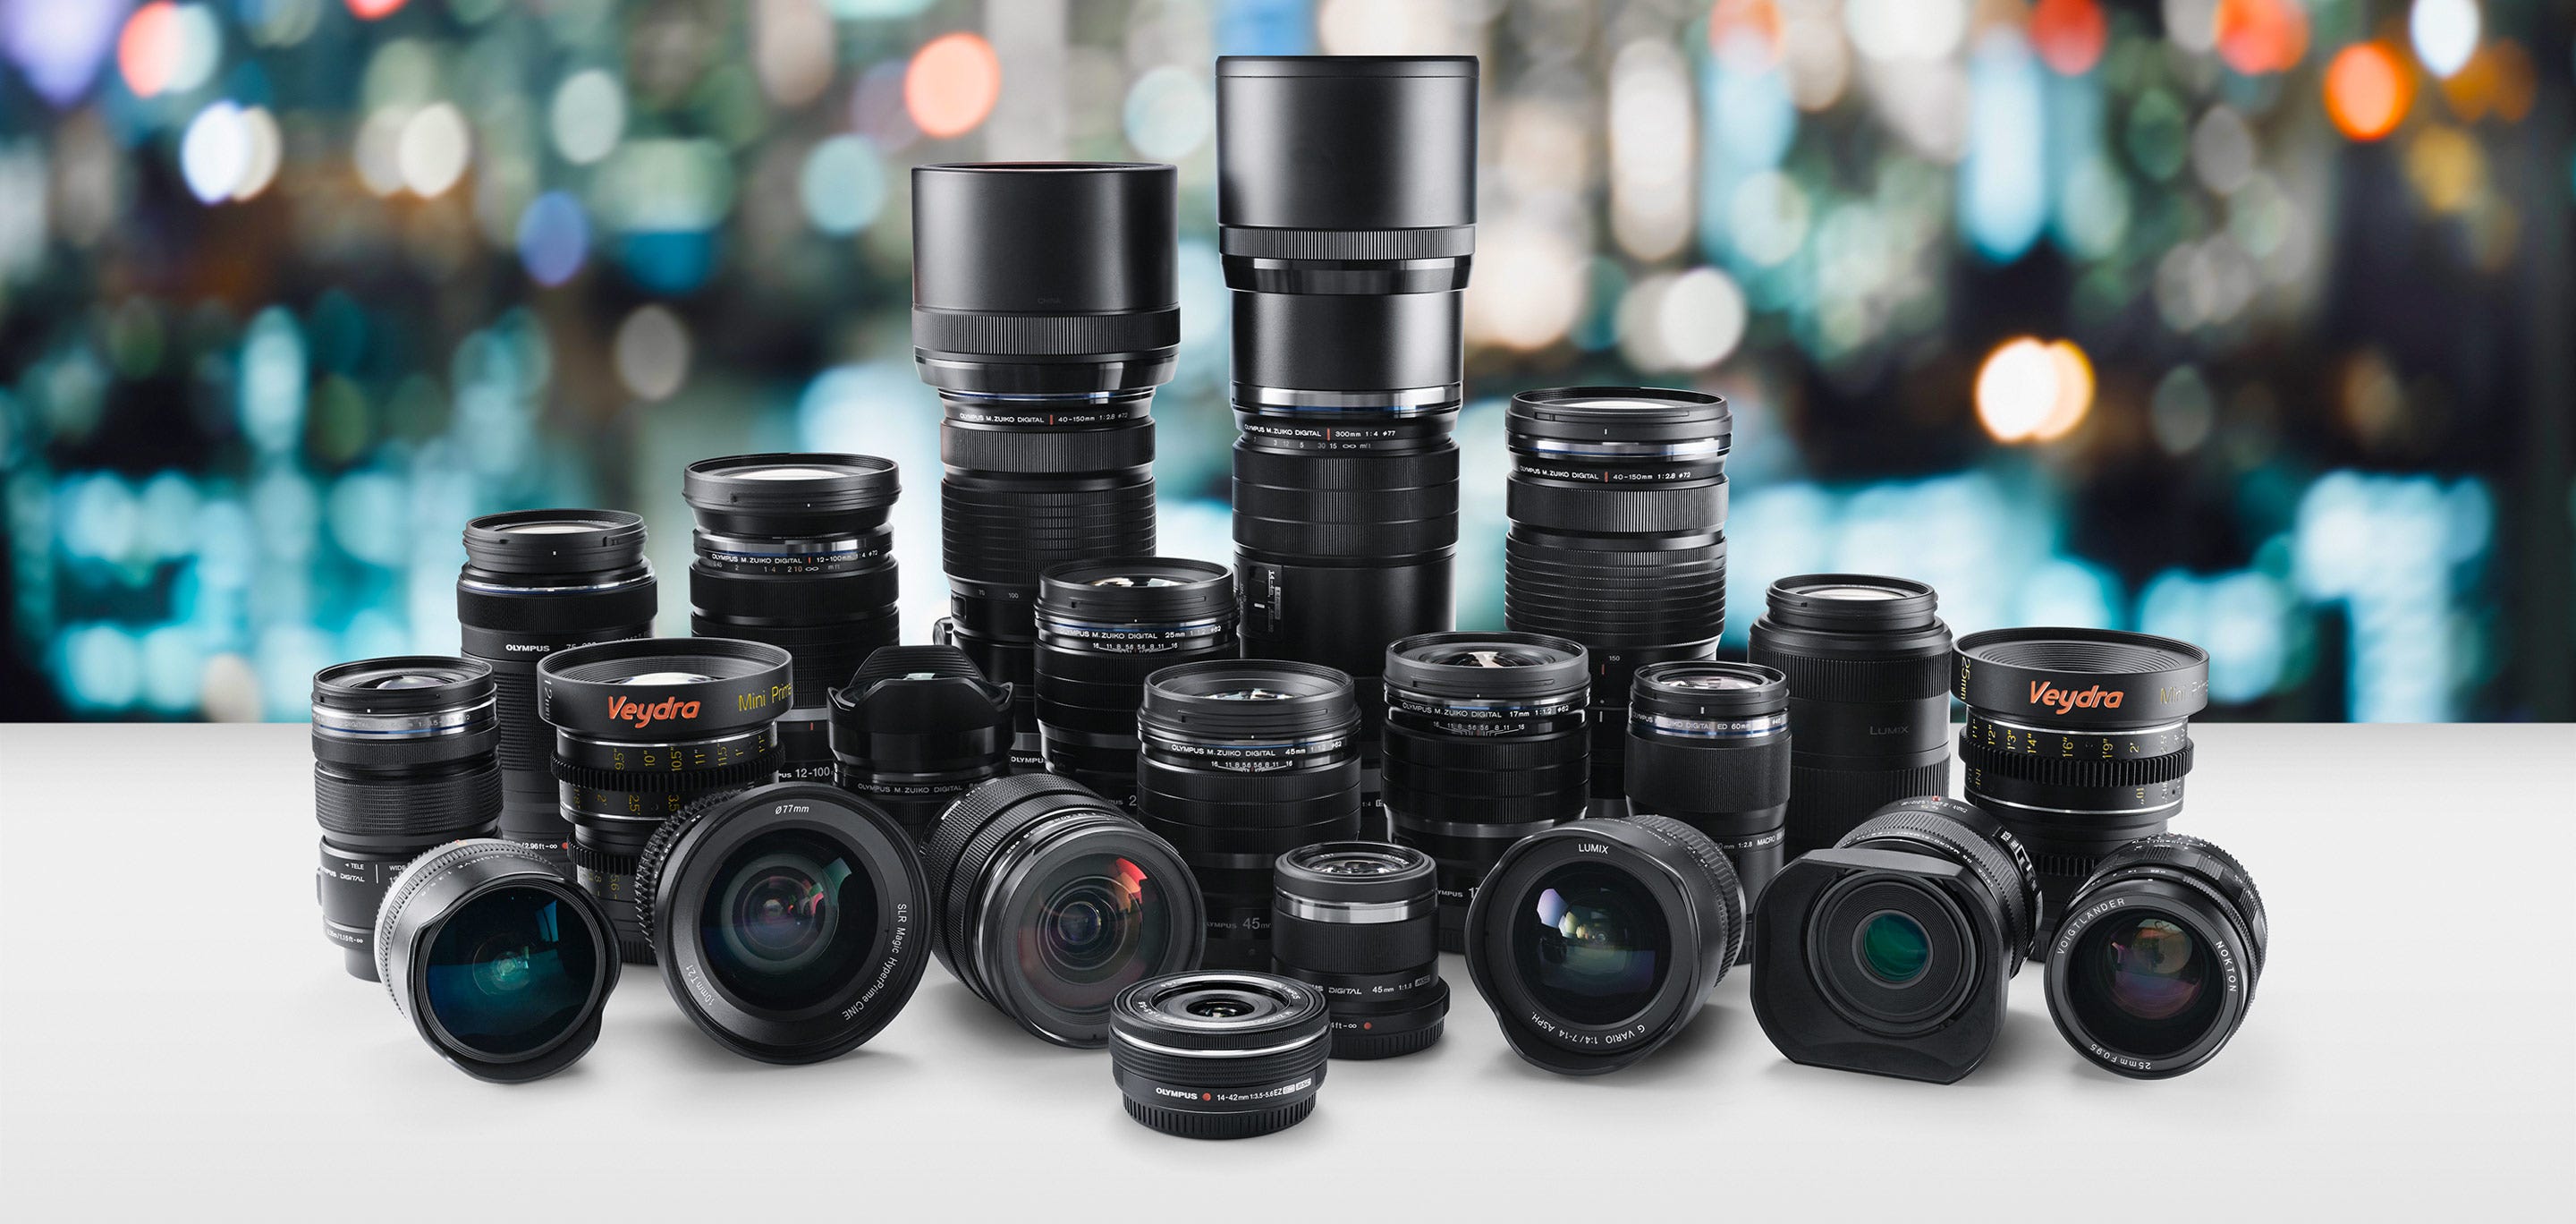
Now onto lenses. No, you don’t have to understand the ins and outs of the technology to know how to utilize them for your story. That’s your DP’s bread and butter. Your bread and butter are understanding the options that are available and when to use them. So let's go over the basics. But before doing that, there is something you should know about lenses that, yes, is slightly technical.
They have this thing called a focal length, which is the distance between the center of the lens and its focus. When working on set you may hear them being referred to by their focal lengths such as a 14 mm lens or a 200 mm lens. Why is this important to know other than preventing yourself from looking like an idiot in front of the camera department? It’s because different focal lengths produce expanded or contracted fields of view, which can produce radically different perspectives when shooting something at a normal distance. This is confusing, so to best illustrate my point, watch this short clip. It explains everything you need to know about this concept in six seconds.
Also, it’s good to know the difference between a zoom and a prime lens. A zoom lens is a lens that allows you to zoom in and out. A prime lens is one that doesn’t allow you to zoom. The easiest way to tell if you’re using a prime or a zoom lens is to read the focal length that’s displayed on the lens.
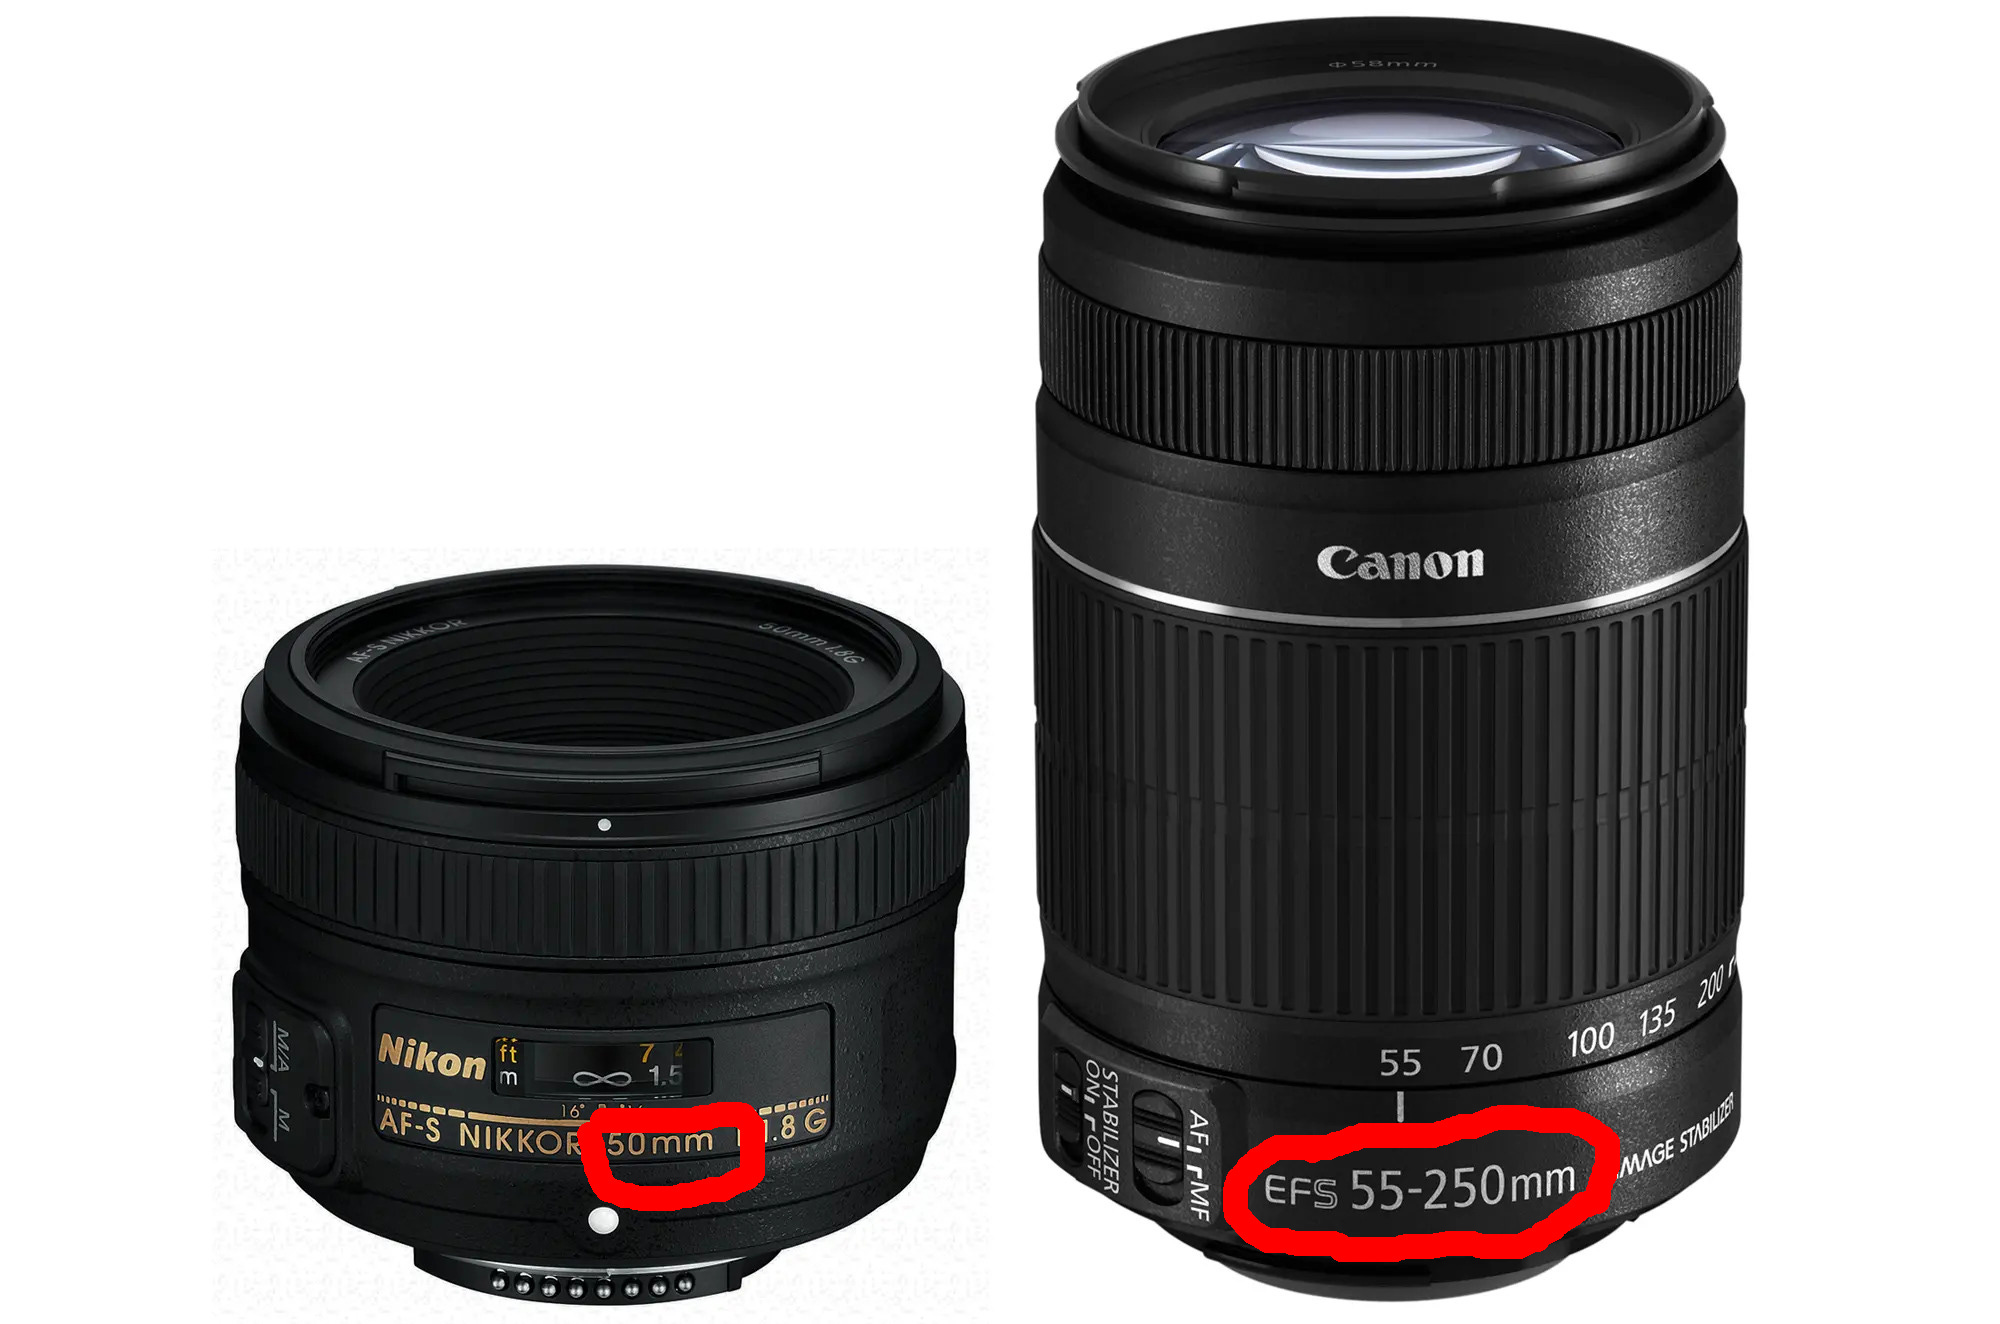
If it gives you a focal range, such as 35-85mm, then it’s a zoom lens. If it only gives you one focal length, then it’s a prime lens.
So with that stuff in mind, let’s go through the different types of lenses you can use to maximize the meaning and emotion in your film.
Wide Lenses (4-35 mm focal length)
A wide-angle lens exaggerates the relative size of objects within a field of view and is generally used for establishing shots as well as master shots in blocking because, no surprise, it’s able to capture a lot within a frame. There are basically two types of wides. You have your standard wides (14-35mm), which is great for capturing the entire space of the scene, like this.
The other type of wide-angle lens is a superwide or a “fisheye” lens (4-14mm). This is primarily used to create a distorted effect, such as during a scene when your character is tripping or dealing with a surreal moment.
This is because it makes the subject bulge out while making the surrounding environment compress. With both standard wides and super wides you can get this effect the closer or further you move from your subject. The difference is that with a super wide the effect becomes much more dramatic.
Standard Length Lenses (35-85mm focal length)
Standard lenses are generally used for medium close-up shots and dialogue exchanges because they provide clear perspectives, so you don’t get any distortions in the shot that would make it jarring. In fact, it’s said that a 50mm lens is the closest perspective to the human eye you can achieve, which is why it’s the most commonly used lens for dialogue sequences. In these moments, filmmakers generally like to make the audience feel as though they’re right there, in the conversation.
Long Length Lenses (85-300+mm focal length)
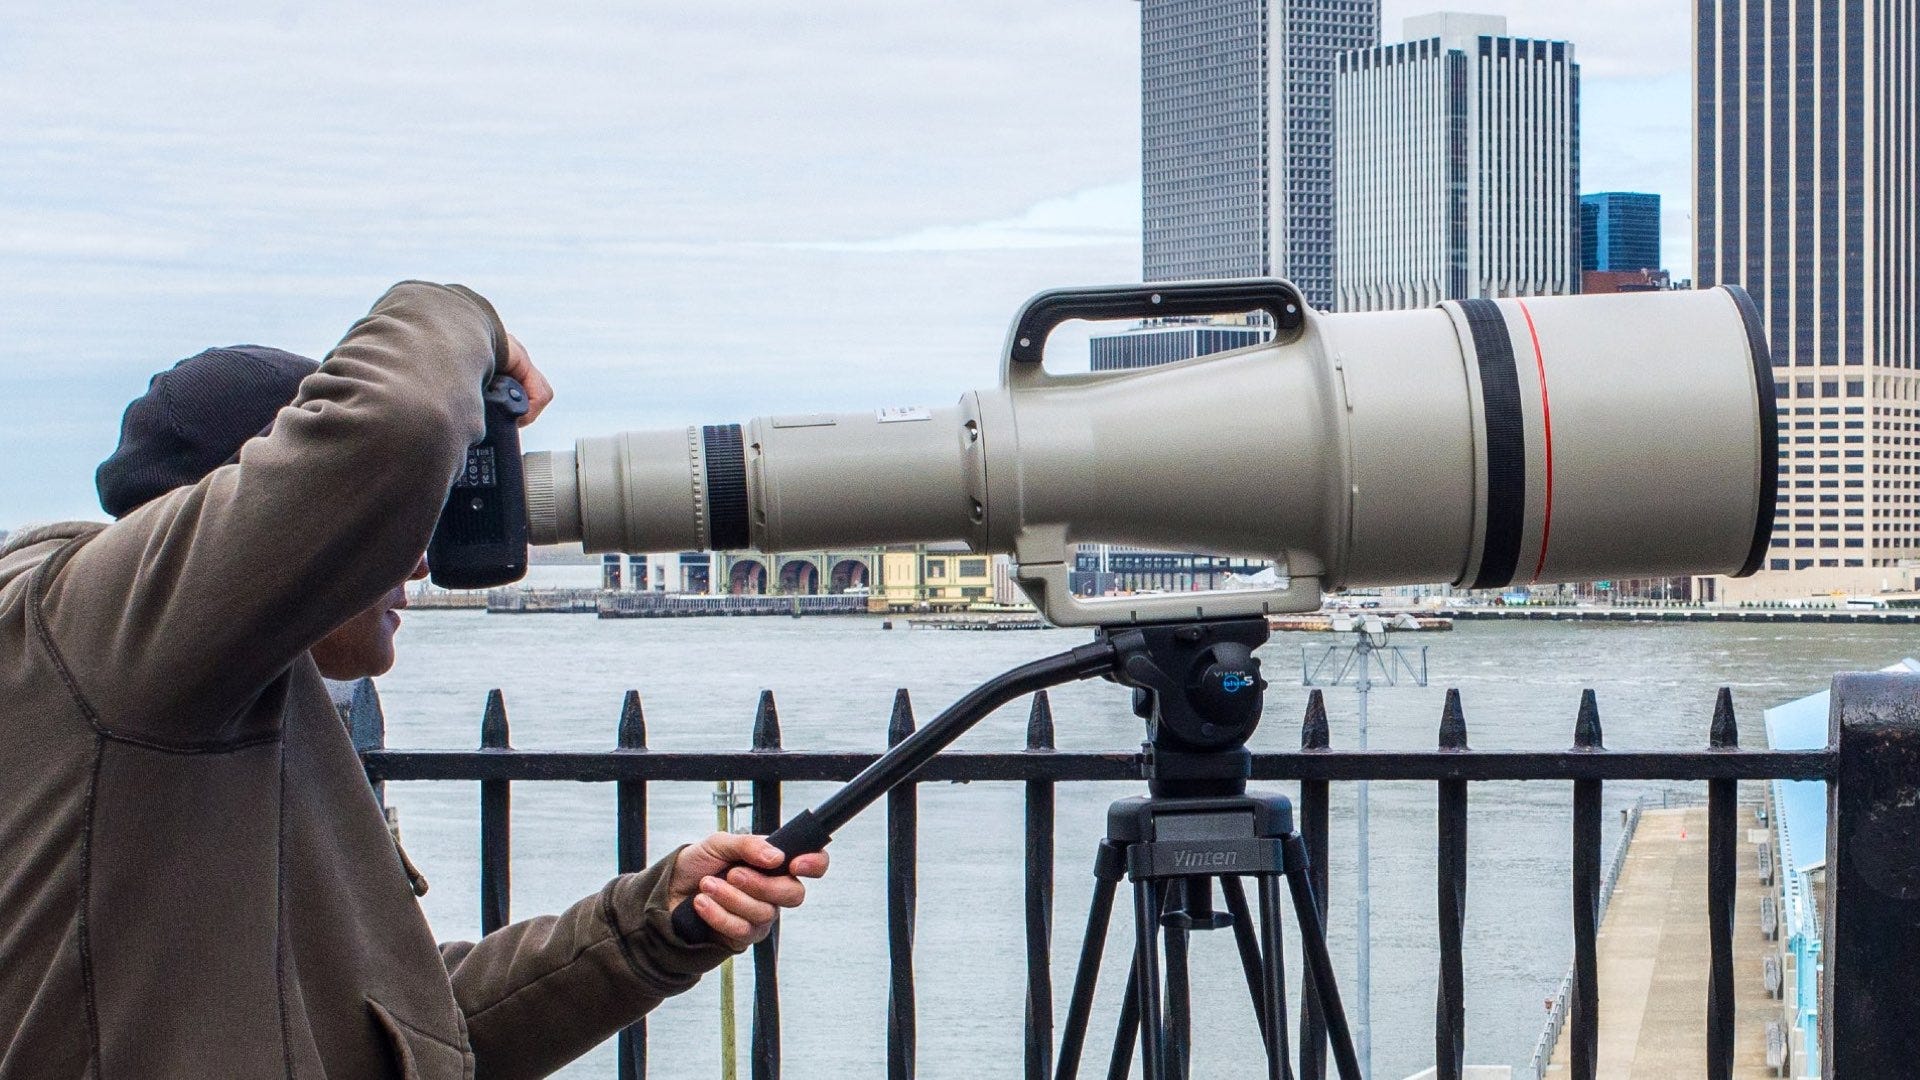
Long lenses, also known as telephoto lenses have focal lengths that allow you to capture things from great distances. Why would we want to capture something at long distances? Well, for all sorts of reasons. Perhaps you want to start on a close-up of someone walking and slowly zoom out to reveal this massive space they’re wandering through, which can convey a sense of, “smallness” that they might feel in relation to their surroundings.

Or maybe you want to produce a comedic effect by zooming into someone’s face from a far distance, like this.
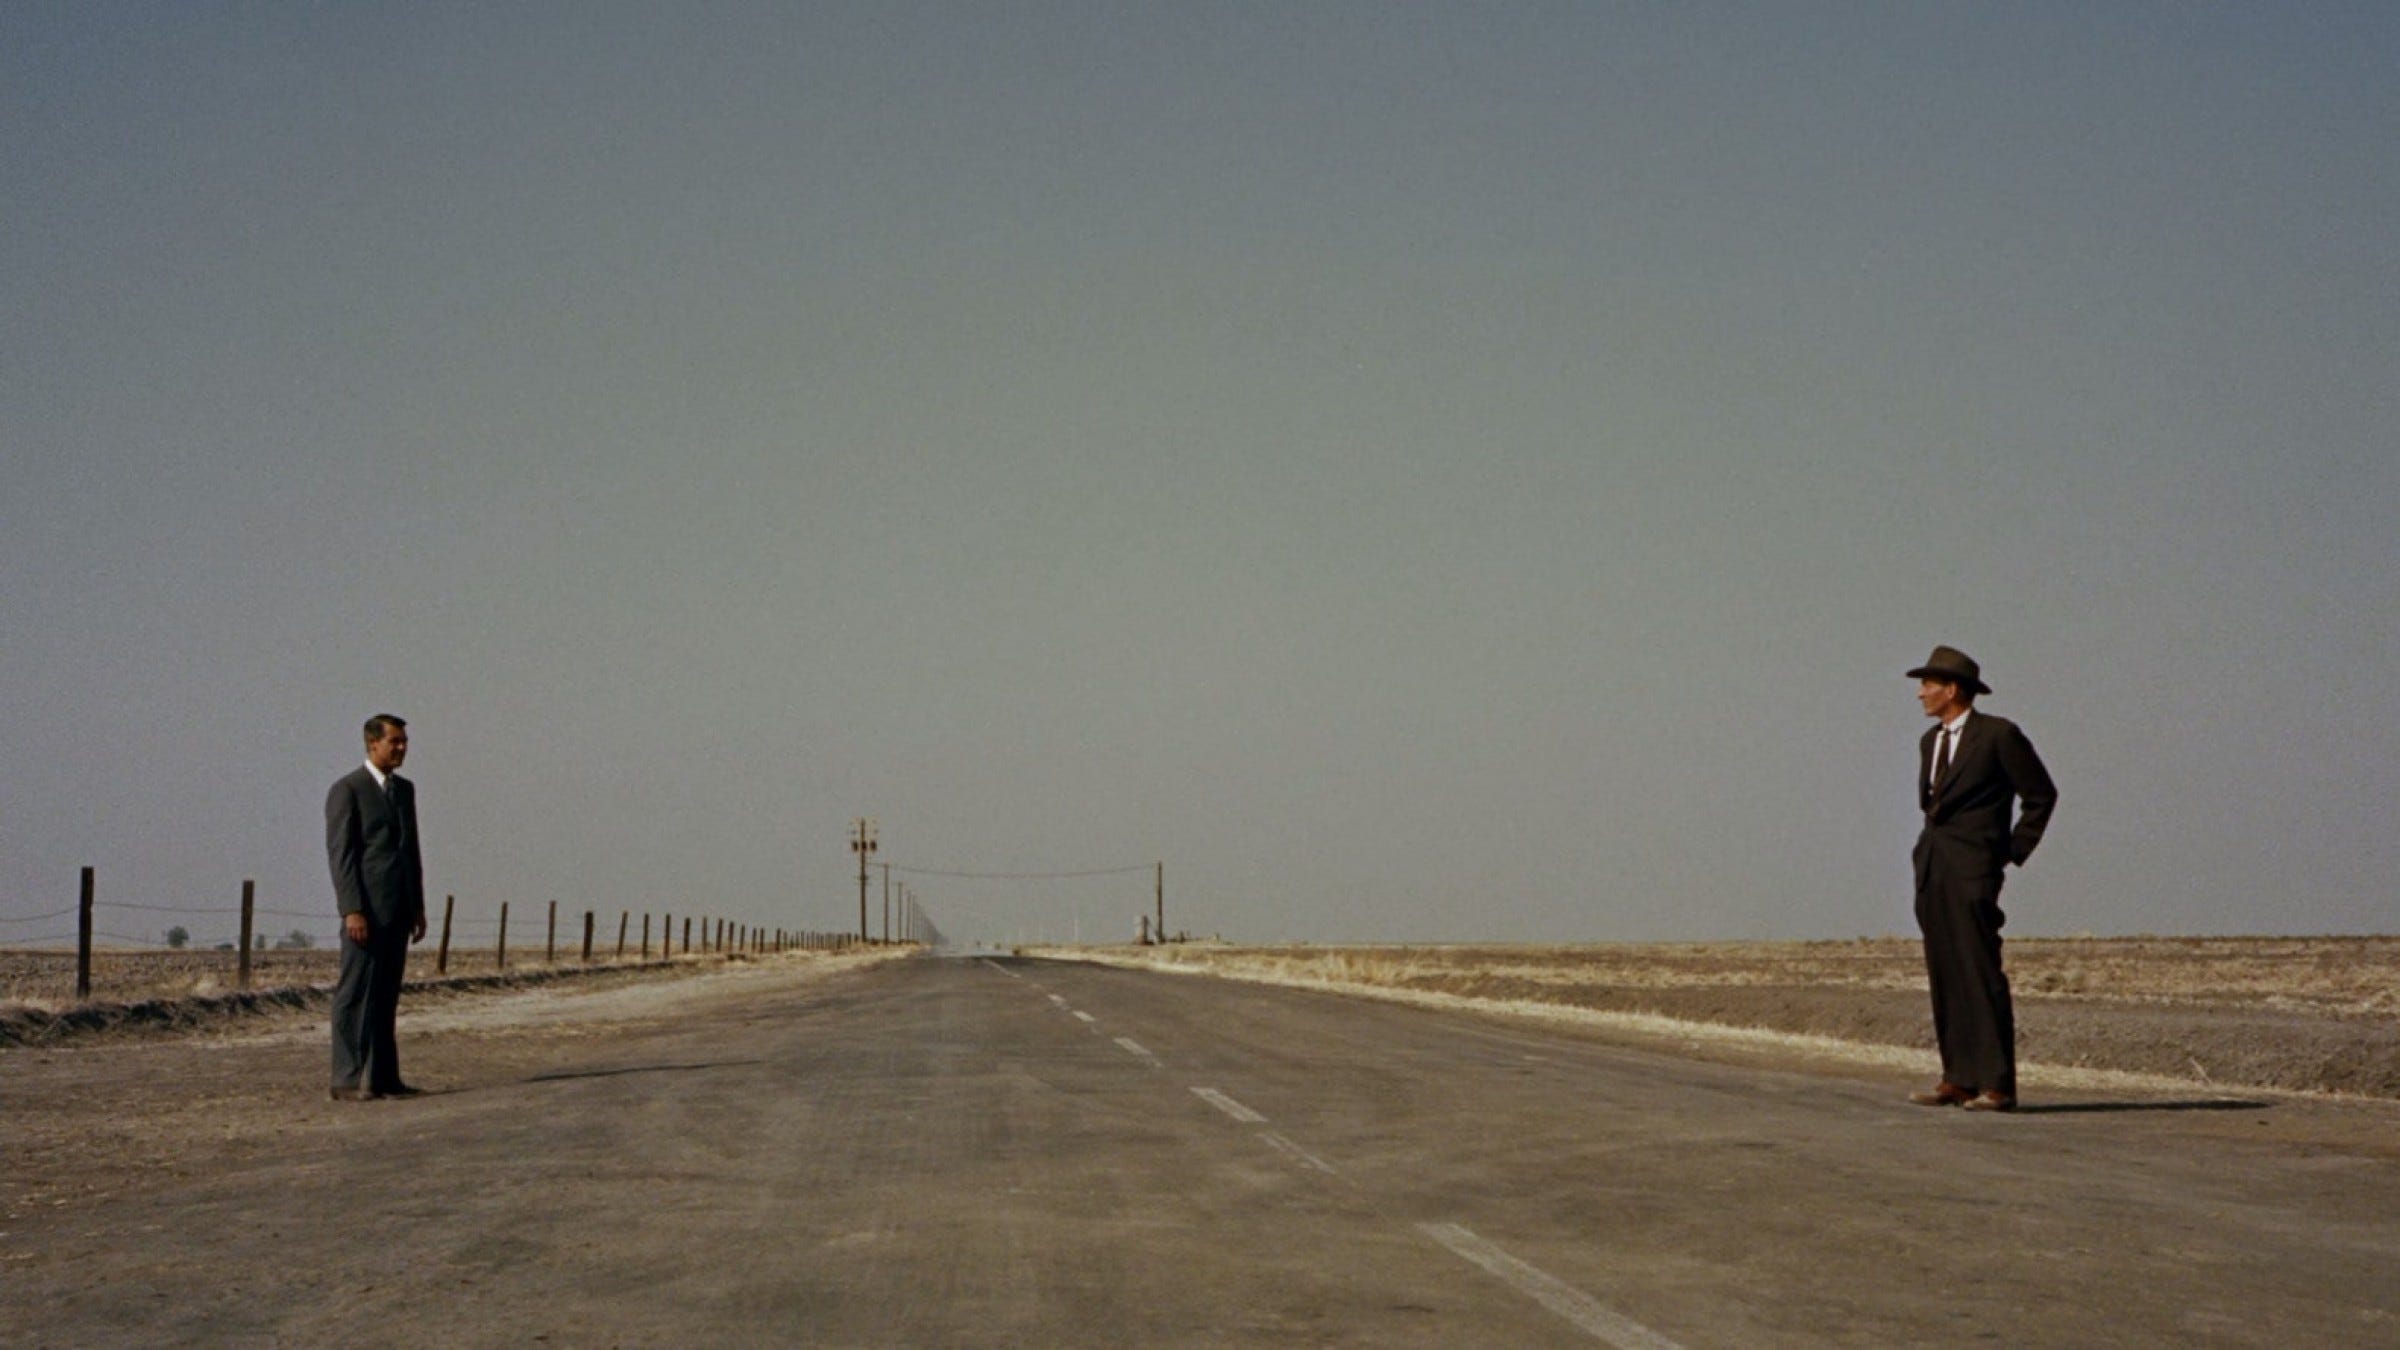
Another reason for using long lenses is to compress the depth of the image so that the background and foreground appear to be relatively close to each other. This can be great if you want to make something behind the subject appear really big, such as capturing the sun behind some helpless person walking along the desert in search of water. Here’s another great example from Tinker Tailor Soldier Spy that’s much more subtle.
This scene was shot as a standard wide, but if you notice, they used a long lens to capture the shot even though they could have easily used a 35 mm lens. This is because they wanted to compress the depth so that when we see the plane coming up from behind, it looks massive like it’s right on top of them. And the reason why they did this was to intensify the anxiety in this moment, which is foreshadowing the danger that’s about to unfold on this mission. The plane that’s approaching represents this big dangerous situation, and by using a long lens for this shot, they were able to convey a sense of unease in the audience who were probably thinking, “Woah, get out of the way!” But in fact, that plane was much further away.
Conclusion
So those are the basic options for shots and lenses. In part II we’ll cover simple lighting, composition, and aesthetics so that you can finally have a one-on-one with the cool DP wearing Jesus hair wrapped in a man bun without feeling too intimidated. Yes, you’ll never be as cool as a cinematographer, not even the actors. But at least you’ll be able to communicate with them more effectively, which will help you gain more control over how you convey your story so that you’re maximizing the meaning and emotional impact that it can have. This is super important, especially in an era with too many movies.
Hopefully, this wasn’t too technical. I promise part II won’t be, either. Okay, well that’s all I have for now. Appreciate you all for checking this out. Until next time, best of luck in your writing endeavors!
Story Prism, LLC
__________________________________________